
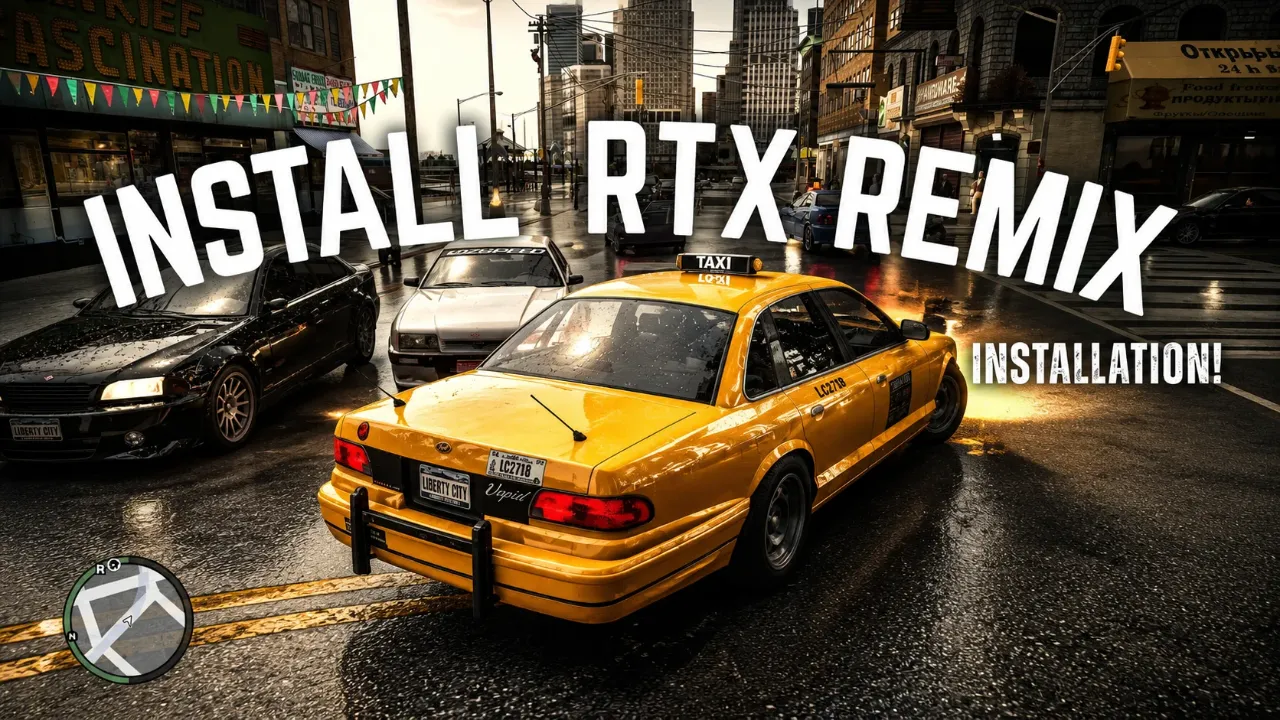
Grand Theft Auto IV remains one of the greatest narrative masterpieces in PC gaming history, but visually, its original 2008 graphics clearly show their age today. Enter the revolutionary NVIDIA RTX Remix path tracing mod. If you have been wondering how to give the iconic Liberty City a complete, ultra-realistic visual overhaul, you are in the right place. In this comprehensive 2026 guide, we will walk you through exactly how to install the GTA 4 RTX Remix mod on your PC. By following this tutorial, you will completely transform the vanilla game with next-gen lighting, highly detailed 4K PBR textures, and advanced AutoPBR materials that rival modern modern-day releases.
What You Need Before You Start
Before diving into the mod installation process, ensure you have a clean, completely unmodded version of GTA IV installed on your system. Because path tracing is incredibly demanding, a powerful modern GPU is highly recommended to handle the intensive lighting calculations.
You will also need to download a few essential modding files. First, grab the core RTX Remix Mod package, which is typically coupled with the popular Xoxor4d Compatibility Mod. Next, you should download the FusionFix patch; this critical community update optimizes the game engine and prevents common rendering glitches. Finally, keep a DLL error-fixing package handy. Older PC titles famously throw missing file errors or crash to the desktop when users attempt to inject modern path tracing software into them.
Crucial Step: Always create a full backup of your main game folder before proceeding with any modifications.
Step-by-Step Installation Guide
1. Download the Required Files
You must download two specific files to start: the GTAIV Remix Compatibility Mod ZIP and the GTAIV Remix Compatibility Mod Installer. Create a new folder anywhere on your PC and place both files inside it together. Do not copy these files directly into your GTA IV game directory.
Official GitHub Repository: https://github.com/xoxor4d/gta4-rtx
Releases / Download Page: https://github.com/xoxor4d/gta4-rtx/releases
2. Run the Installer
Launch the Compatibility Mod Installer. A file selection window will open, asking you to locate your game executable. Navigate to your Grand Theft Auto IV installation directory, select the GTAIV.exe file, and click Open. The installer will begin preparing the necessary files.
3. Install the Custom FusionFix Version
When the prompt asks if you want to install a custom version of FusionFix, choose Yes. This custom build is specifically modified to work seamlessly with RTX Remix. Even if you already use the standard FusionFix version, installing this custom version is highly recommended for vital compatibility improvements.
4. Install the Base RTX Remix Package
The installer will ask if you want to download the base Remix package. Choose Option One: ZIP Download. This method is the easiest route, as it downloads everything automatically and sets it up for you without requiring you to use a local Git repository.
5. Remove Steam Launch Options
Open Steam, right-click on GTA IV, and select Properties. Check the Launch Options section and completely clear out any custom launch commands you have entered. Custom arguments can interfere with RTX Remix and cause unexpected issues.
6. Launch GTA IV
Start the game normally through Steam. The first launch will take longer than usual because RTX Remix needs time to initialize, load files, and build shader caches in the background.
In-Game Configuration & Optimization
Once you load into Liberty City, it is time to verify your installation and tweak your visuals using two specific menus:
- The RTX Remix Menu (Press Alt + X): If this overlay appears, your installation was successful. This menu gives you access to settings for path tracing, lighting, reflections, DLSS, performance options, and graphics presets.
- The Compatibility Mod Settings (Press F4): This menu contains additional settings specifically designed for GTA IV. It is highly useful if you ever need to fix graphical glitches or fine-tune performance.
Best Starting Settings
Because path tracing can make even high-end gaming PCs struggle, it is best to start with performance-friendly settings. In the RTX Remix menu, apply the following:
- DLSS Enabled
- Medium RTX Preset
- Lower Path Tracing Quality
- Frame Generation Enabled (if your GPU supports it)
These settings provide an excellent balance between image quality and frame rate. Once you confirm the game is running smoothly, you can gradually increase the settings to see how far your hardware can push the game’s fully remastered, photorealistic graphics!