
GTA 4 came out in 2008, and honestly? Out of the box, it looks like it. The flat lighting, washed-out textures, and muddy shadows are hard to ignore once you’ve seen what a modded version looks like. If you’ve ever watched an ICEnhancer screenshot comparison and thought “there’s no way that’s the same game” — you’re in the right place.
ICEnhancer 4.0 is the most advanced graphics overhaul ever made for GTA IV. It completely rewrites how the game handles lighting, shadows, reflections, color grading, and ambient effects. The result is a version of Liberty City that looks genuinely cinematic — almost like a next-gen remaster built by the community, for free.
This guide walks you through everything: what ICEnhancer 4.0 actually does, what your PC needs to run it, where to download it safely, and how to install it step by step — even if you’ve never modded GTA 4 before.
What Is ICEnhancer 4.0 and Why Does It Transform GTA 4?
ICEnhancer (short for Iced Enhancer) is an ENB-based graphics modification for GTA IV, created by the modder Hayssam Keilany. It’s been around since 2010, but version 4.0 is a complete rebuild — not just a visual patch, but a full rework of how the game renders its world.
Where the vanilla game uses basic DirectX 9 shading with minimal post-processing, ICEnhancer 4.0 layers in:
- Custom ENB shaders for volumetric lighting and god rays
- Physically based ambient occlusion that adds depth to every corner and surface
- Realistic rain and wet surface reflections
- Overhauled color grading that shifts the game’s famously grey-green palette toward a warm, cinematic tone
- Improved depth of field that blurs background elements naturally when you move the camera
- Enhanced bloom and lens flare that reacts to in-game light sources realistically
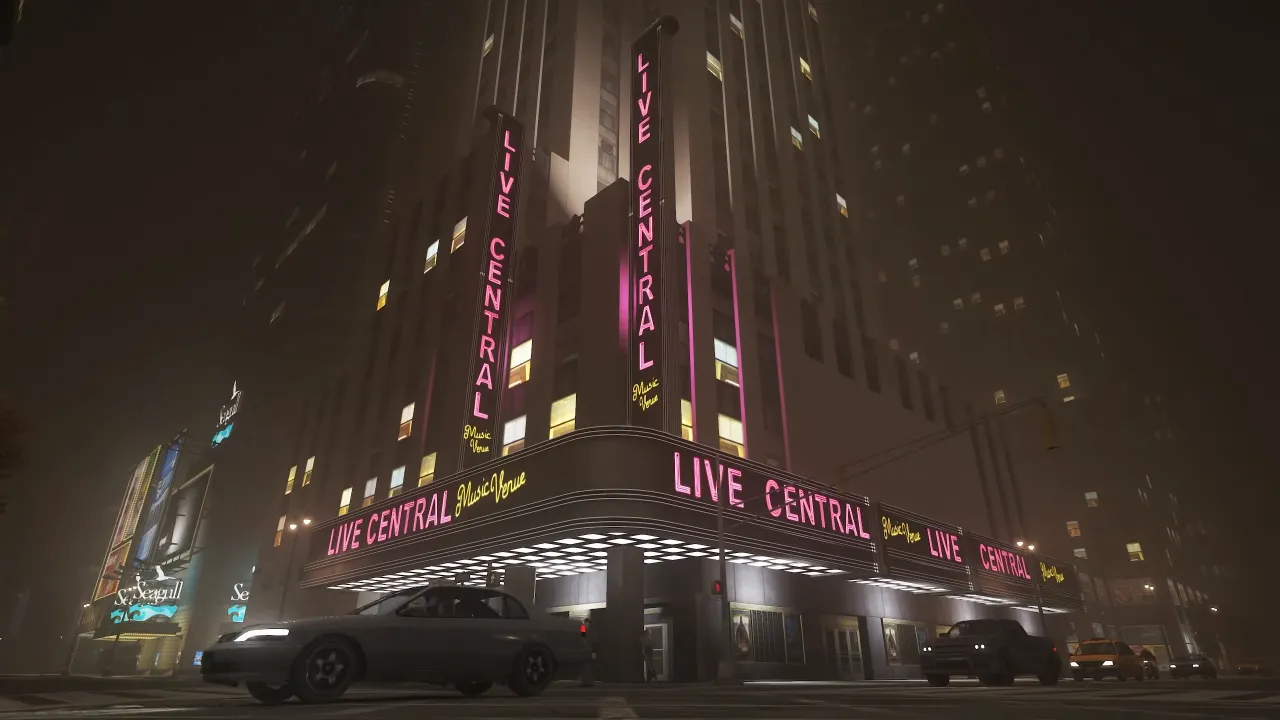
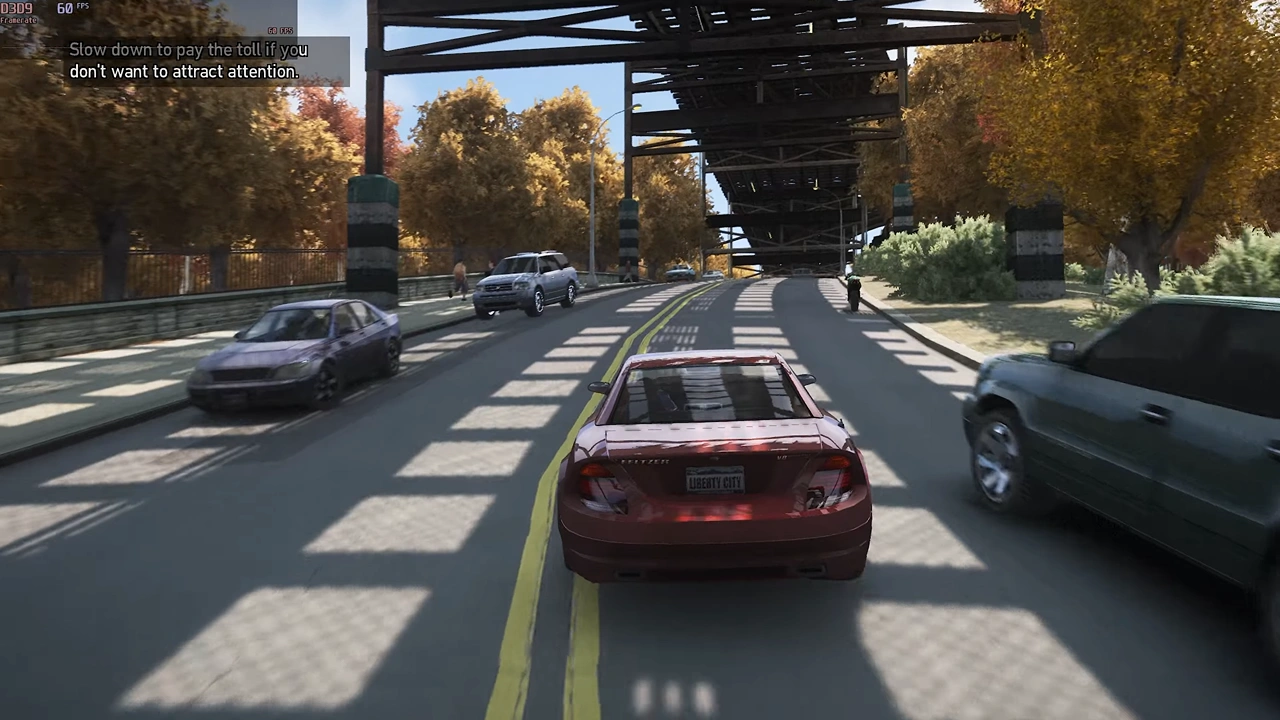
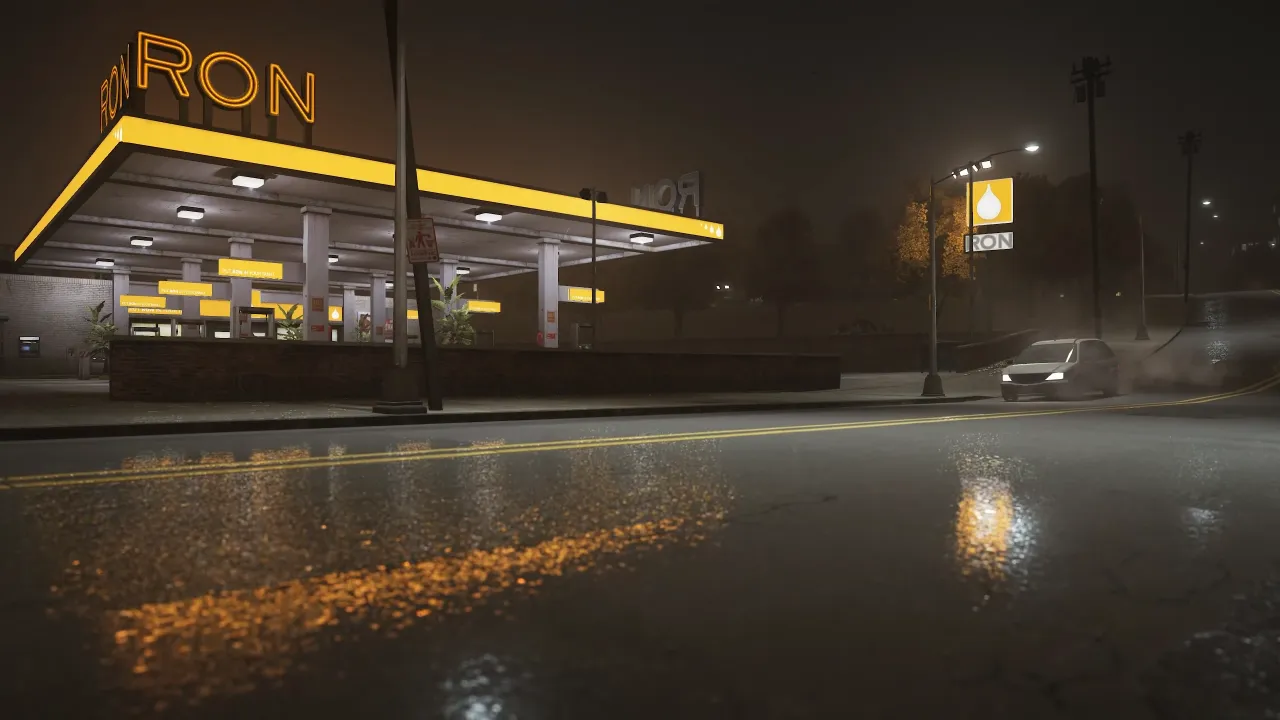
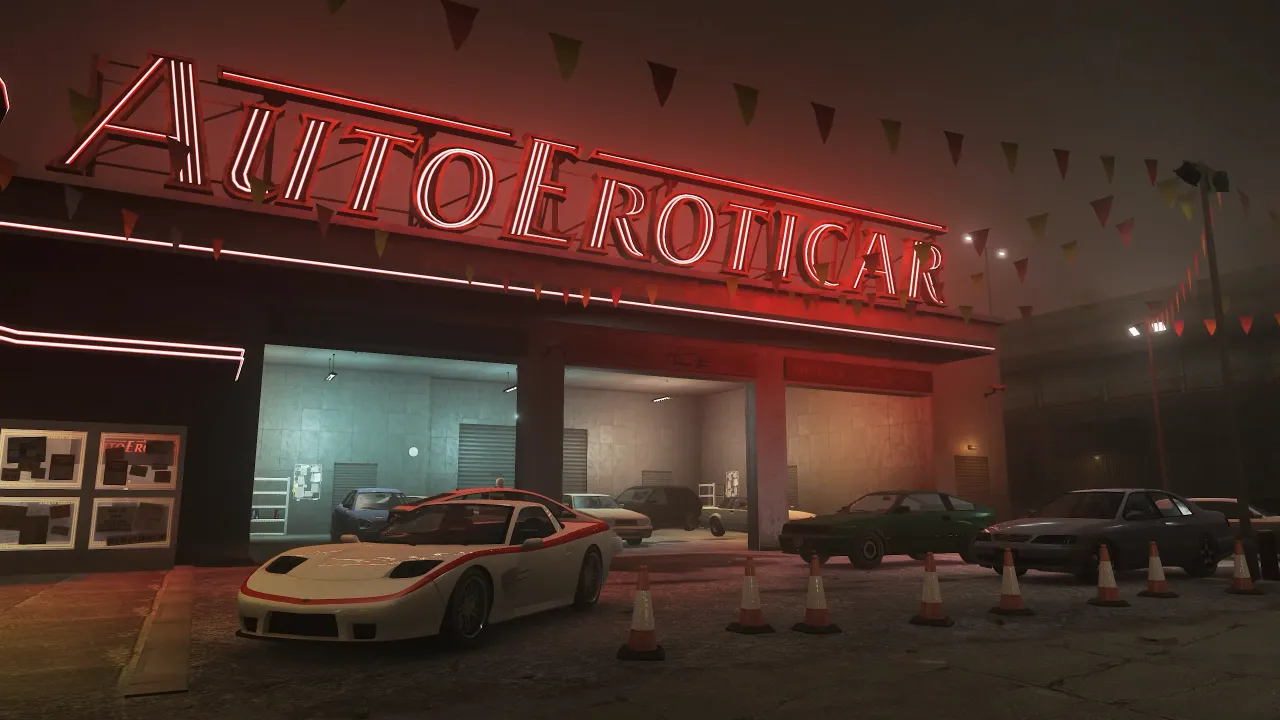
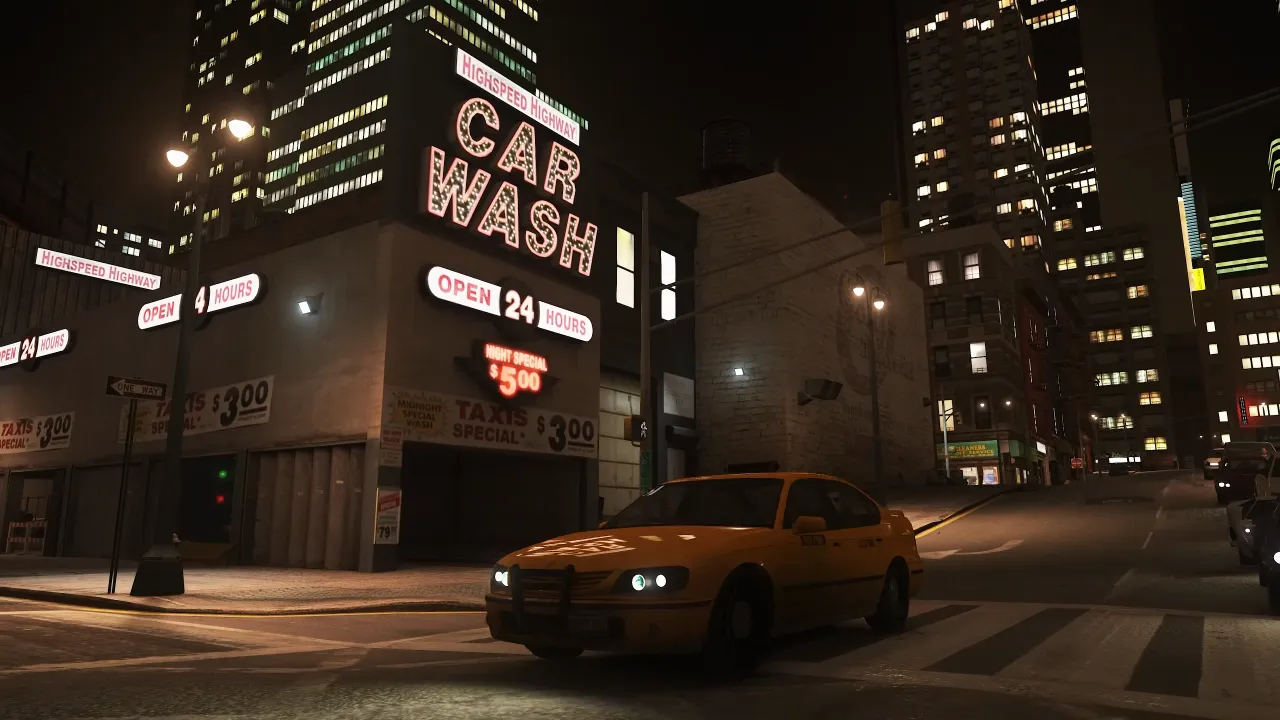
The difference isn’t subtle. Night driving through Algonquin with neon signs reflecting off wet roads, or watching the sunrise over the Broker Bridge — these moments feel like a completely different game.
It’s worth noting that ICEnhancer works best when combined with DXVK and FusionFix, which we’ll cover in the prerequisites section below.
System Requirements for ICEnhancer 4.0 on GTA 4
Before you download anything, make sure your PC can handle this mod. ICEnhancer 4.0 is GPU-heavy. The ENB pipeline adds significant rendering overhead, so this is not a mod for very low-end machines.
| Component | Minimum | Recommended |
|---|---|---|
| GPU | GTX 960 / RX 480 | GTX 1060 6GB / RX 580 or better |
| VRAM | 4 GB | 6 GB+ |
| CPU | Intel i5-4th Gen / Ryzen 3 | Intel i5-8th Gen / Ryzen 5 2600+ |
| RAM | 8 GB | 16 GB |
| Storage | HDD (SSD preferred) | SSD strongly recommended |
| OS | Windows 10 64-bit | Windows 10 / 11 64-bit |
| GTA IV Version | Complete Edition (v1.0.8.0 or downgraded to v1.0.4.0) | Downgraded v1.0.4.0 |
Important: ICEnhancer 4.0 works best on GTA IV downgraded to version 1.0.4.0. The Steam Complete Edition (v1.0.8.0) can also work but may have minor shader issues. If you’re on a newer Steam version, downgrading first is strongly recommended.
If your PC is on the lower end, don’t worry — there are ways to tune ICEnhancer’s settings to reduce the performance hit, which we cover later in this guide. You may also want to check out our guide on how to fix GTA 4 FPS lags and boost FPS before starting.
Prerequisites: What You Need Before Installing ICEnhancer 4.0
ICEnhancer doesn’t work in isolation. You’ll need a few things set up first for the mod to load correctly and look its best.
Step 1 — Make Sure You Have a Clean GTA IV Install
If you’ve been tinkering with GTA IV mods before, start fresh. Verify the game files through Steam, or do a full uninstall and reinstall. Leftover files from other ENB mods especially can cause ICEnhancer to conflict or crash.
Step 2 — Install DXVK (Highly Recommended)
DXVK translates GTA IV’s DirectX 9 calls into Vulkan, which dramatically improves performance and eliminates a lot of stuttering. ICEnhancer is much smoother with DXVK underneath it. We have a dedicated guide on how to install DXVK in GTA 4 — follow that first.
Step 3 — Install FusionFix
FusionFix is a community patch that fixes dozens of bugs in GTA IV, including shadow rendering issues and broken game features. ICEnhancer’s visual improvements look noticeably better with FusionFix installed. Head to our FusionFix GTA 4 download and install guide to get it set up.
Step 4 — Have OpenIV Installed
You’ll need OpenIV to browse and manage GTA IV’s game files during the installation process. It’s the standard modding tool for GTA titles.
⬇️ Download OpenIV (External — official OpenIV website)
How to Download ICEnhancer 4.0 for GTA 4 (Safe Links Only)
ICEnhancer 4.0 is a free mod. There are unfortunately a lot of fake or repackaged versions floating around shady sites. Always download from the official sources listed below.
📸 Screenshot suggestion: Side-by-side comparison of vanilla GTA 4 vs ICEnhancer 4.0 in the rain — alt text: “GTA 4 ICEnhancer 4.0 before and after comparison in rain”
⬇️ Download ICEnhancer 4.0 — GTAInside (Official Mirror)
⬇️ Download ICEnhancer 4.0 — GTA5-Mods Mirror
The download is typically a .zip or .rar file between 50–150 MB depending on the version. Extract it somewhere accessible before starting the install.
Tip: Scan any downloaded mod archive with Windows Defender or your antivirus before opening it. Reputable mods from the sites above are safe, but it’s a good habit regardless.
Step-by-Step Installation Guide for ICEnhancer 4.0 on GTA 4
Now the fun part. Follow these steps carefully and in order.
📸 Screenshot suggestion: Windows File Explorer showing the GTA IV root directory with all files visible — alt text: “GTA 4 root installation folder on PC with game files”
Step 1 — Locate Your GTA IV Root Folder
Open Steam, right-click on Grand Theft Auto IV, go to Properties → Local Files → Browse. This opens your GTA IV root directory — the folder where GTAIV.exe lives. Keep this window open.
Step 2 — Extract the ICEnhancer 4.0 Archive
Right-click the downloaded ICEnhancer zip/rar file and extract it using WinRAR or 7-Zip. You’ll see several files and folders inside, typically including:
enbseriesfolderenbseries.inid3d9.dll(ord3d11.dllif using the DXVK-compatible version)Sweet.fxorReShade.ini(varies by version)IceConfig.exe— the in-mod settings tool
Step 3 — Copy All Files to Your GTA IV Root Directory
Select all extracted files and folders and paste them directly into your GTA IV root folder. When Windows asks about overwriting existing files, click Yes to All.
📸 Screenshot suggestion: Drag and drop of ICEnhancer files into GTA IV folder — alt text: “Copying ICEnhancer 4.0 files into GTA IV game folder on PC”
Note: If you installed DXVK, you already have a
d3d9.dllin the folder (that’s the DXVK file). ICEnhancer 4.0 has a dedicated DXVK-compatible version that uses a different injection method — make sure you’re using the right package. The readme inside the ICEnhancer archive will specify.
Step 4 — Run IceConfig.exe to Set Your Preferences
Inside the ICEnhancer package, there’s usually a small configuration tool called IceConfig.exe. Launch it and you’ll see toggle options for:
- Depth of Field — On/Off
- Motion Blur — On/Off
- Lens Flare — Intensity slider
- Color Profile — Neutral, Warm, Cinematic
- SSAO — Screen Space Ambient Occlusion strength
For mid-range PCs, turn off Depth of Field and lower SSAO to “Low” for a meaningful FPS boost without much visual sacrifice.
Step 5 — Edit enbseries.ini for Your GPU (Optional but Recommended)
Open enbseries.ini with Notepad. The key lines to tweak for performance are:
EnableAmbientOcclusion=true   → change to false on weak GPUs
EnableBloom=true              → safe to keep on most systems
EnableDepthOfField=true       → set to false on low VRAM
VideoMemorySize=2048          → change this to match your VRAM in MB
Set VideoMemorySize to your actual GPU VRAM. For a 6GB card, use 6144. Getting this wrong is one of the most common causes of crashes and stuttering with ENB mods.
Step 6 — Launch GTA IV and Test
Start GTA IV normally through Steam. The ENB will load automatically — you’ll see an ENB version message briefly flash on screen when the game launches, which confirms it’s working.
Once in-game, press Shift + F12 to open the ENB overlay (in most builds). From here you can toggle effects in real time and see their performance impact on your FPS counter.
📸 Screenshot suggestion: GTA 4 running with ICEnhancer 4.0 active, ENB overlay visible in corner — alt text: “GTA 4 with ICEnhancer 4.0 active showing ENB overlay and improved visuals”
How to Get the Best Performance With ICEnhancer 4.0
ENB mods are demanding. Here’s how to make sure you’re getting smooth frames alongside the beautiful visuals.
Keep GTA IV’s In-Game Settings Balanced
ICEnhancer does most of its work outside GTA IV’s own renderer, so you don’t need the in-game settings maxed out. In fact, pushing both simultaneously is the fastest way to tank your framerate. Set in-game shadows to Medium, draw distance to around 50–60%, and reflection quality to Normal. ICEnhancer’s ENB will handle the visual heavy lifting.
Pair It With a GTA IV FPS Boost Tweak
If you’re still getting lower FPS than you’d like after installing ICEnhancer, our GTA 4 FPS boost guide covers additional tweaks including commandline.txt arguments and NVIDIA/AMD driver-level optimizations that stack well with ENB mods.
Watch Your CPU Usage
ENB mods are primarily GPU-bound, but GTA IV itself is notoriously CPU-hungry. If your CPU is consistently hitting 90–100% while the GPU is sitting lower, that’s a bottleneck. Our guide on how to reduce CPU usage while gaming covers the most effective ways to free up headroom.
Common ICEnhancer 4.0 Problems and How to Fix Them
Even with a clean install, ENB mods can be finicky. Here are the most frequent issues and their solutions.
Game Crashes on Launch
This almost always comes down to a d3d9.dll conflict. If you’re using DXVK, make sure you’re using the DXVK-compatible version of ICEnhancer. Try temporarily removing the d3d9.dll from the folder and see if the game launches — if it does, there’s a conflict between your DXVK setup and the ENB injector.
Black Sky or Missing Timecycles
This usually means ICEnhancer’s timecyc.dat file didn’t install properly. Go back to the extracted archive, find the common/data/ folder, and manually copy timecyc.dat to the matching path in your GTA IV directory.
Stuttering Despite Good FPS
This is often a VRAM issue. Lower the VideoMemorySize value in enbseries.ini slightly below your actual VRAM cap (for example, set 5500 instead of 6144 on a 6GB card). Also check out our guide on GTA 4 DXVK stutter and low performance fixes for more targeted solutions.
Washed Out or Overexposed Colors
Open enbseries.ini and look for the Adaptation settings. Lowering AdaptationMinMax values and reducing EyeAdaptationSpeed usually brings the exposure back to a natural range.
ICEnhancer 4.0 vs ICEnhancer 3.0 — What’s Actually Different?
If you’ve used ICEnhancer 3.0 before and are wondering whether the upgrade is worth it, here’s a quick comparison:
| Feature | ICEnhancer 3.0 | ICEnhancer 4.0 |
|---|---|---|
| Lighting Engine | Basic ENB shaders | Fully rebuilt ENB with PBR elements |
| Rain Reflections | Partial | Full wet surface + puddle reflections |
| Ambient Occlusion | Low quality | High-quality HBAO style |
| Color Grading | Limited presets | Multiple cinematic profiles |
| DXVK Compatibility | Unofficial patches only | Official DXVK build available |
| Performance Impact | Moderate | Higher, but more configurable |
| Configuration Tool | Manual .ini editing only | IceConfig GUI included |
The 4.0 rebuild is a substantial leap. If your GPU can handle it, there’s no reason to stay on 3.0.
Final Thoughts — Is ICEnhancer 4.0 Worth It in 2026?
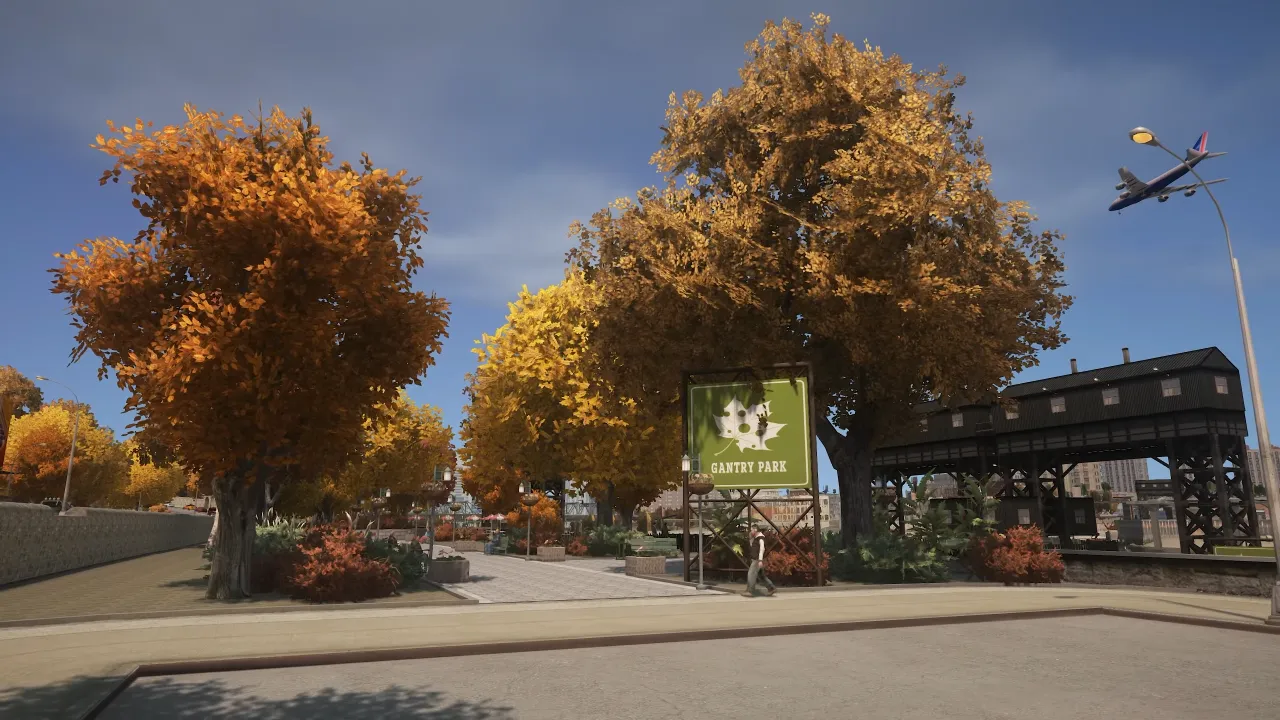
Absolutely. GTA IV is still one of the most atmospheric open-world games ever made — it just needed its visuals to catch up with its storytelling. ICEnhancer 4.0 does exactly that. The rain-soaked streets of Algonquin, the rust and grime of Bohan at night, the golden hour light over the Happiness Island bridge — all of it looks genuinely stunning with this mod installed.
Yes, the installation takes a little more effort than dropping a single file. Yes, you’ll probably need to tweak a setting or two. But the payoff is real, and this guide has walked you through every step.
If you want to go further with GTA IV’s visuals after this, check out the KTMX graphics mod for GTA 4 — it pairs beautifully with ICEnhancer for an even more complete overhaul. And if you run into performance issues, our GTA 4 lag fix guide has you covered.
Now go enjoy Liberty City the way it was always meant to look.
Have questions or ran into an issue not covered here? Drop a comment below — we check them regularly and respond to most within 24 hours.