
Let’s be honest, GTA 4 on PC has always been a mess. Even if you have a good PC the game still stutters, drops frames and has weird bugs that never got fixed. I played it for years like that. Then I tried FusionFix 5.1 and honestly it changed the game for me. On my PC its now running between 76 and 86 FPS on Very High settings at 1080p.
In this post I’ll show you how to download and install it the safe way. It takes less then five minutes, I promise.
What is FusionFix?
FusionFix is a free, open source mod for GTA 4 and Episodes from Liberty City. It’s made by the community and it does a lot of things Rockstar should of done years ago:
- It fixes tons of old bugs that were never patched.
- It makes the graphics and lighting look better.
- The game runs much smoother on modern PCs.
- There’s a new Console Gamma option, so you can make the game look like the Xbox 360 or PS3 version. I really like this one.
Step 1: Download FusionFix 5.1 from GitHub
Please only download it from the official GitHub page. Don’t grab it from random websites, you never know what’s inside those files. Just click the button below, scroll down to Assets and download the file that ends with FusionFixOfflineInstaller.exe. It’s around 206 MB.
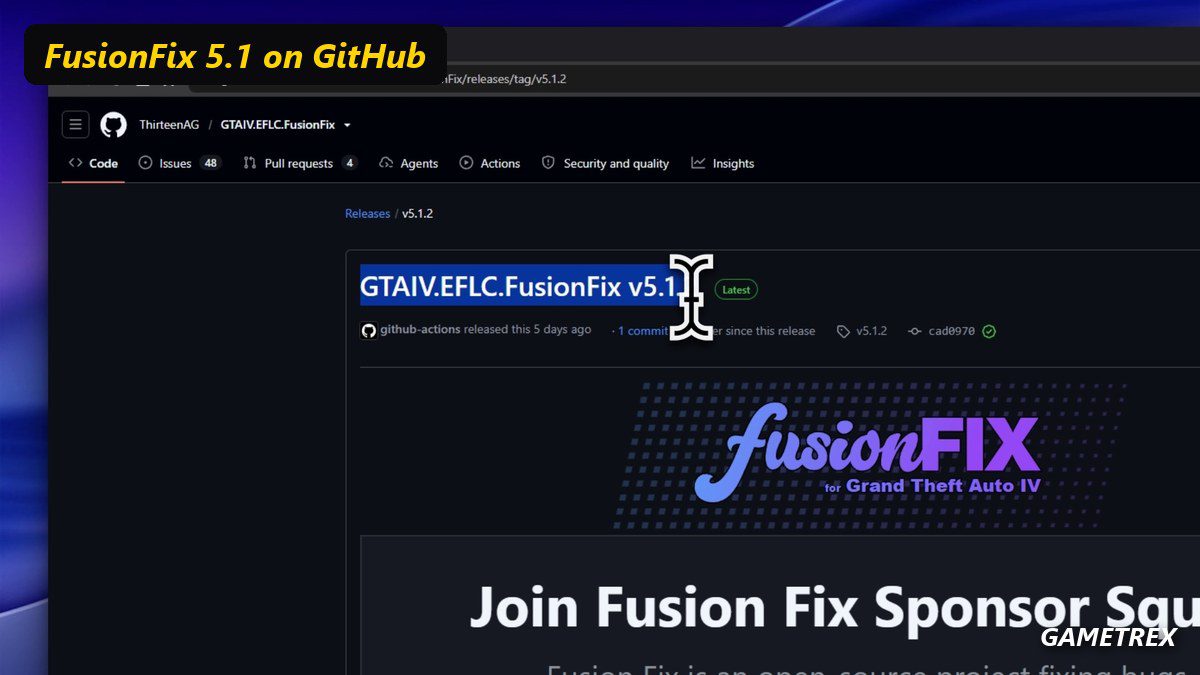
I recommend the offline installer because you don’t need internet while installing. Once the download is done you can move the file anywhere you want.
Quick heads up. When you open the installer, Windows might show a blue or red box saying “Windows protected your PC”. Don’t worry, this is normal for small apps like this. Just click More info and then Run anyway.
Step 2: Find your GTA 4 game folder
Before installing, you need to know where your game is. If you have the Steam version, right click on GTA IV in your library, go to Manage and click Browse local files. A folder will open and you should see GTAIV.exe in there. Click on the address bar at the top and copy the path, we will need it in a second.
Step 3: Install FusionFix
Now open the installer. Most of the time it finds the game by itself. If it doesn’t, click the small folder icon and select your GTA 4 folder (the one with GTAIV.exe inside it). If you used mods before, keep Keep my current settings ticked. Then hit Install. It’s done in like few seconds.
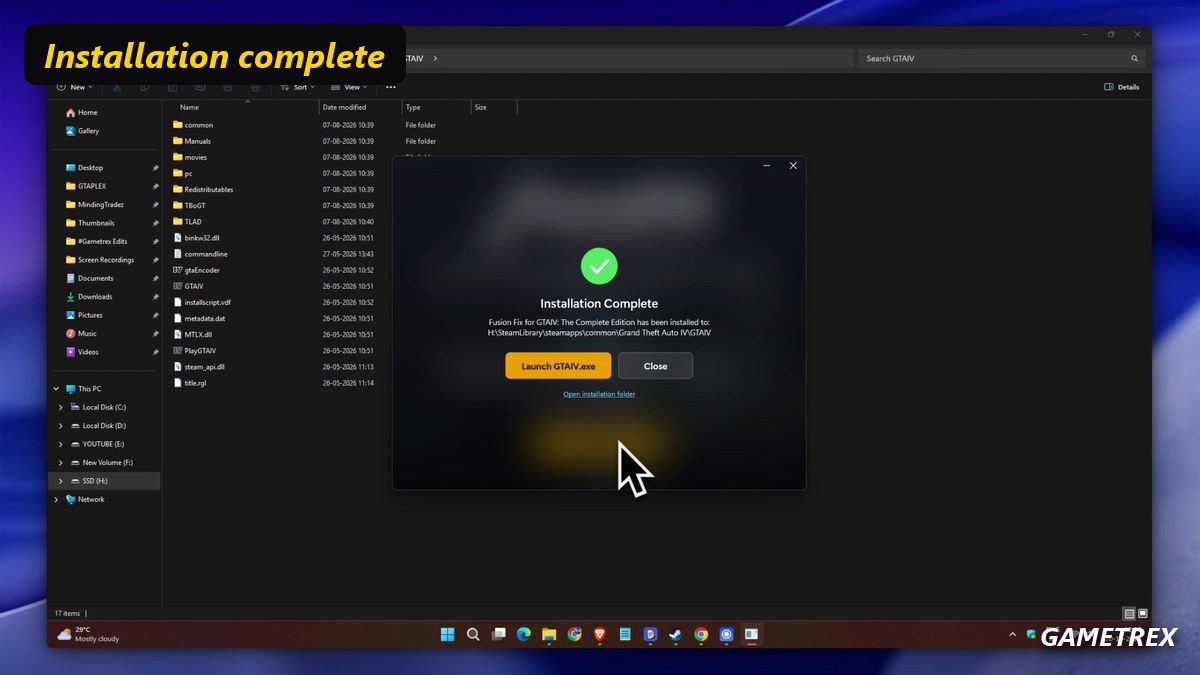
That’s it, really. You can click Launch GTAIV.exe or just start the game from Steam like you normally do.
How does it run? My FPS results
This is the best part. I tested it at 1080p with almost everything on Very High. While driving around the city I was getting between 76 and 86 FPS and it felt really smooth. No big stutters, even when driving fast. When I was just standing in the city with Very High shadows, high textures and 16x anisotropic filtering, it stayed around 100 FPS. Pretty crazy for GTA 4.
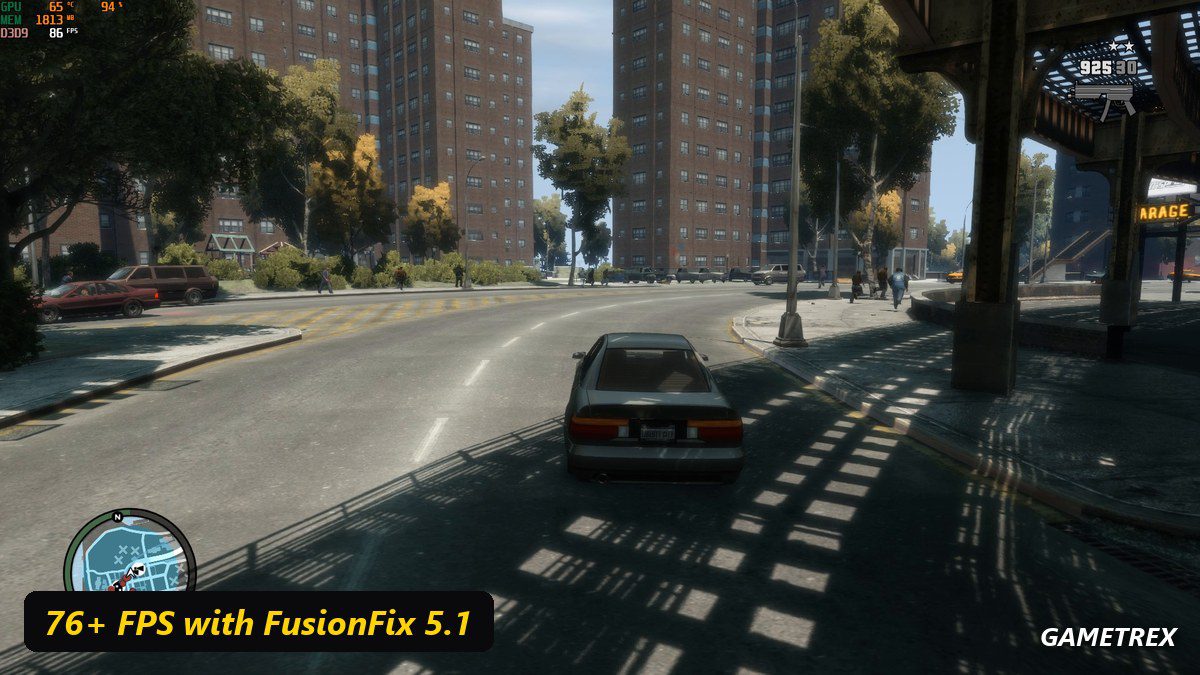
Another good thing is the physics. In the old game, playing above 60 FPS caused some strange physics bugs. With FusionFix those are fixed, so you can finally play at high FPS without problems.
You’ll also find some new options in the pause menu. Under Display you can change Console Gamma to Xbox 360 or PS3. Under Graphics you can turn things like Volumetric Fog and Sun Shafts on or off, so play around with them and see what works best on your PC.
Two small tips
- If some settings look weird after updating, go to the plugins folder inside your game folder, delete the FusionFix config file and set your options again.
- If you already have an older version installed, no need to remove it. Just install 5.1 on top of it.
So yeah, thats how you install FusionFix 5.1 and get way better FPS in GTA 4. If you want to see it in action, check out the full video on the GAMETREX YouTube channel. And let me know in the comments what FPS you were getting before and after, I’m curious!