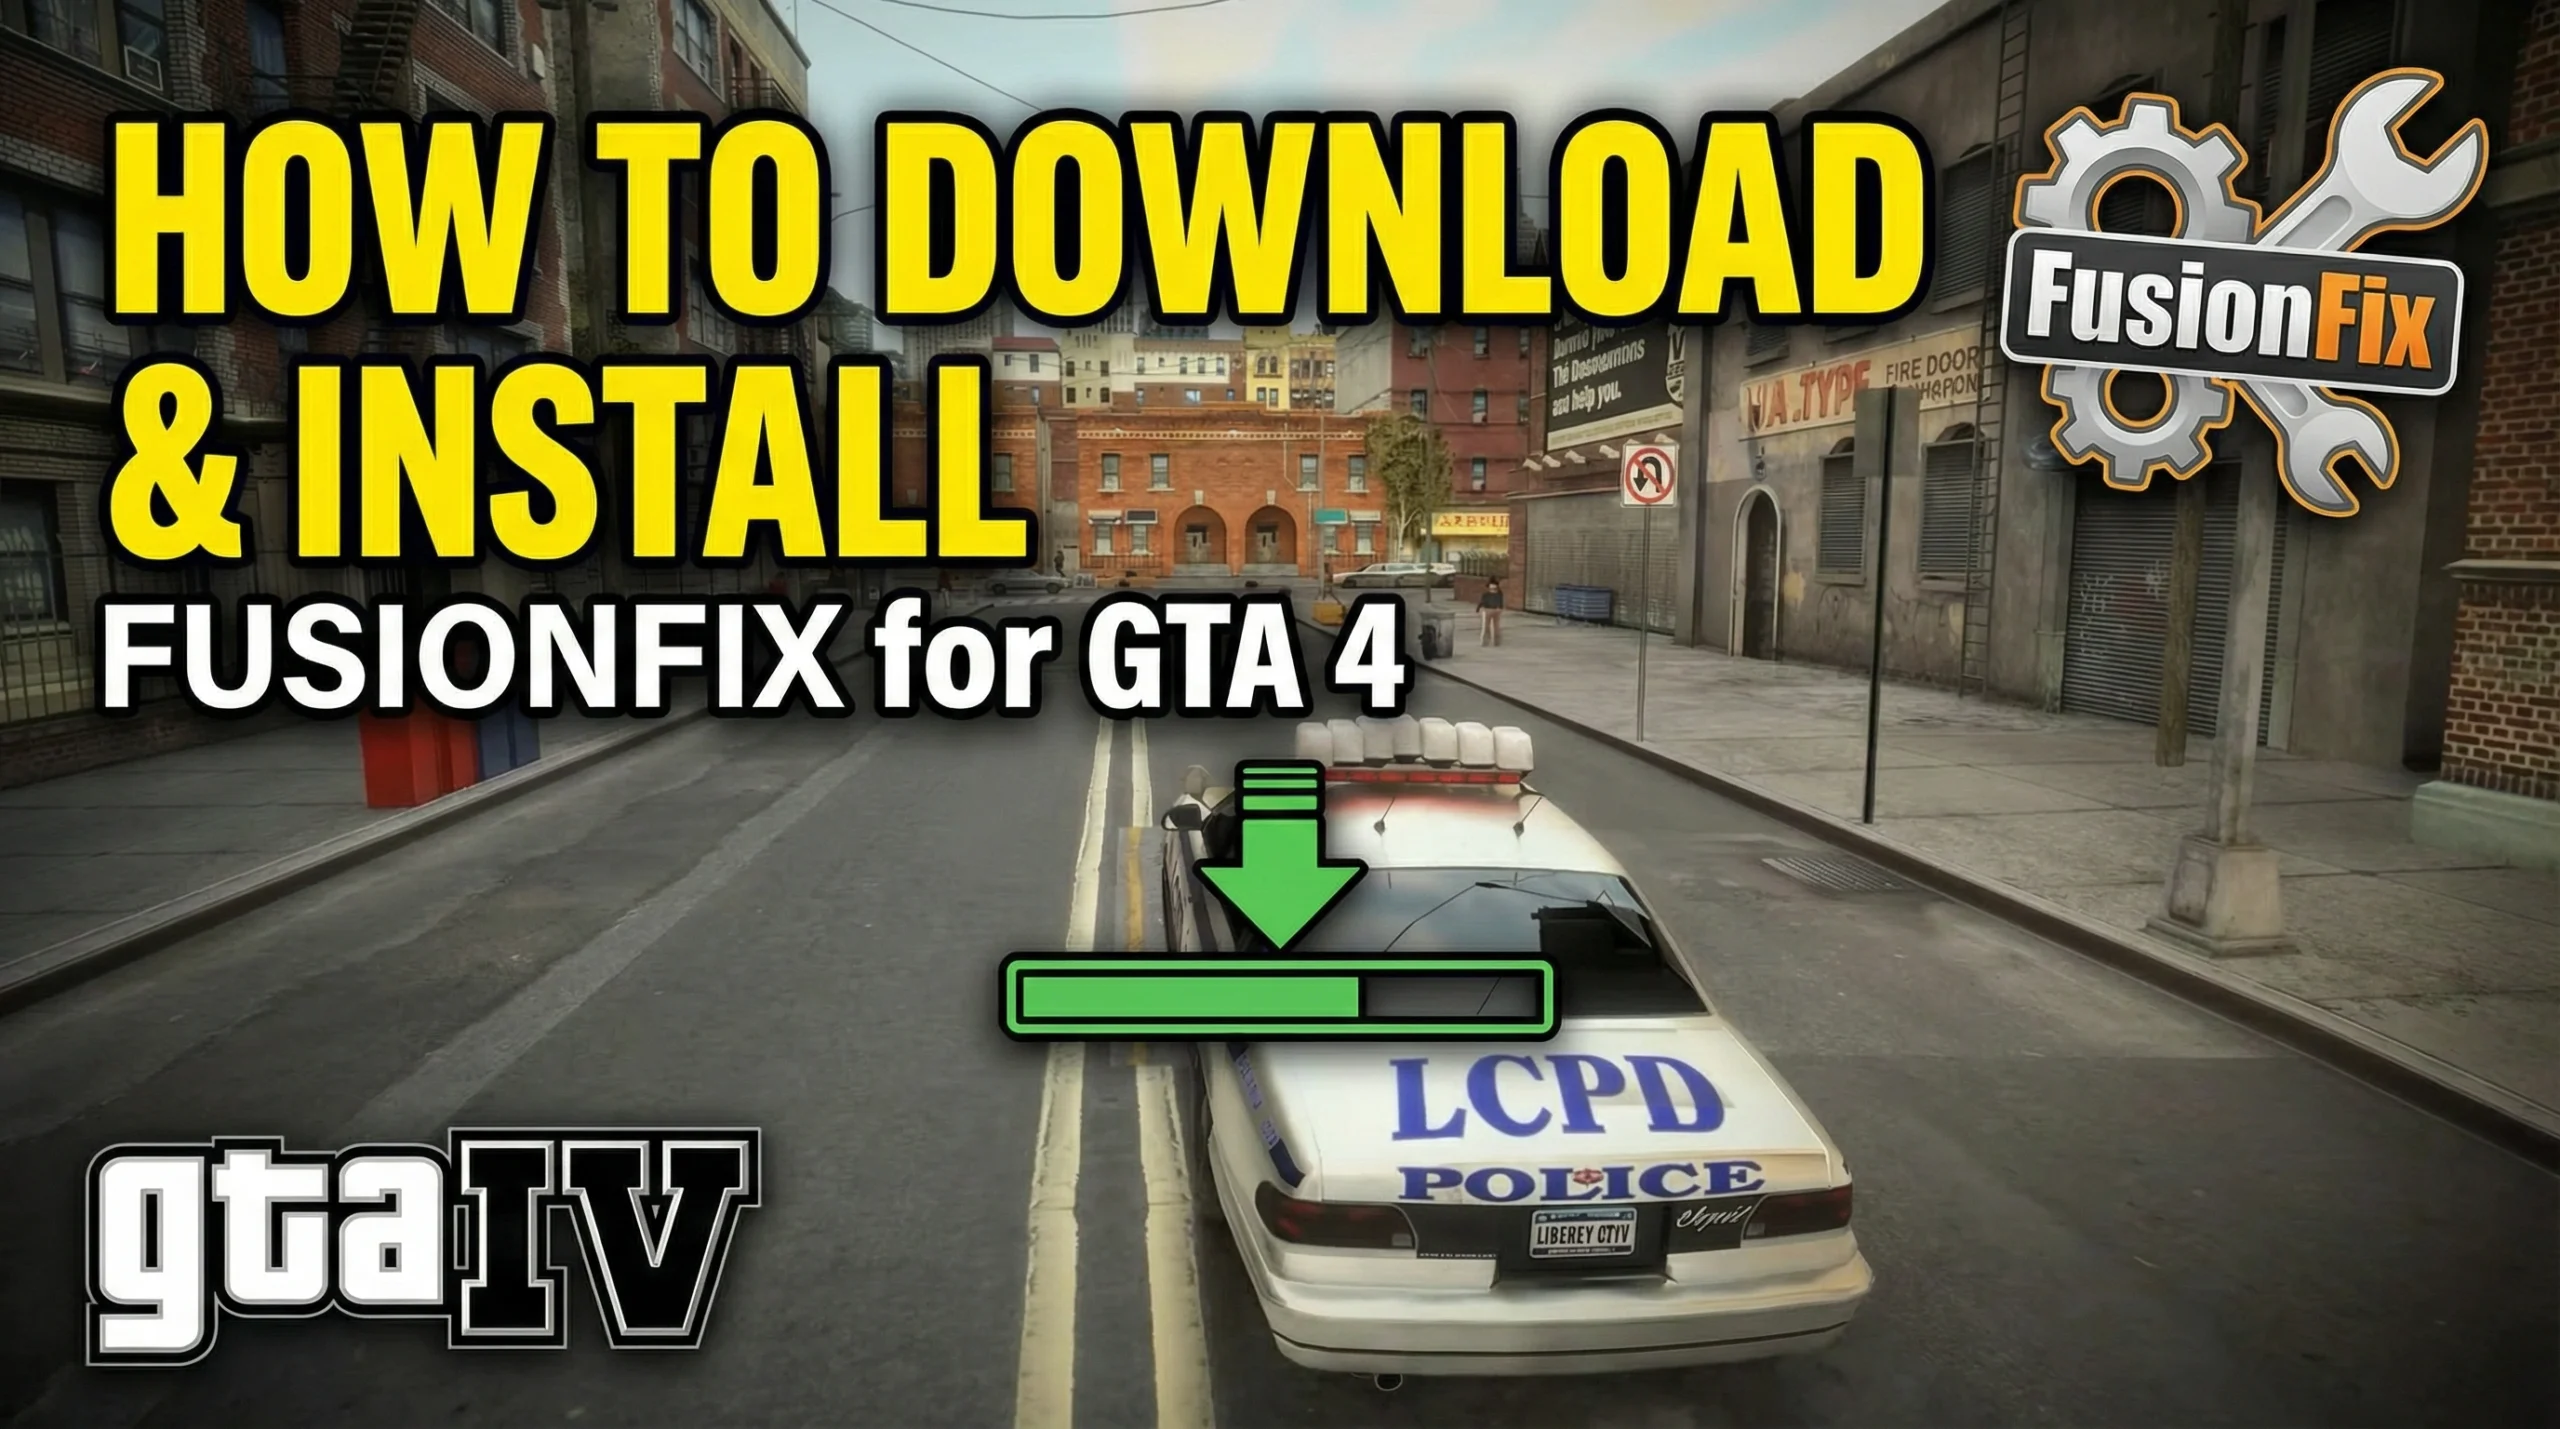
Learn how to download and install FusionFix GTA 4 in 2026. Complete guide covering latest version, Steam Deck setup, best settings, troubleshooting & more.
Grand Theft Auto IV remains one of Rockstar’s most beloved open-world titles, but its PC port has long been criticized for performance issues, bugs, and missing graphical features. That’s where FusionFix GTA 4 comes in — a community-driven mod that patches hundreds of problems and restores the game to its intended glory. Whether you’re playing on a desktop, laptop, or even a handheld, this guide covers everything you need to know about the fusion fix gta 4 download, installation, configuration, and troubleshooting in 2026.
What Is FusionFix GTA 4?
GTA 4 FusionFix is a comprehensive fan-made patch that addresses the long list of bugs, crashes, and graphical shortcomings that have plagued the PC version of Grand Theft Auto IV since its original release. Developed and maintained by ThirteenAG and other contributors, this fusion fix gta 4 mod is hosted publicly on GitHub and Nexus Mods, making it freely available to every player.
The mod fixes issues ranging from broken rain effects and missing depth-of-field to random crashes, stuttering, and compatibility problems with modern hardware. It also restores console-exclusive visual effects — such as motion blur, bloom, and shadow quality — that were stripped or degraded in the PC port.
If you’ve ever searched for the fusion fix gta 4 latest version, you’ve likely landed on either the project’s GitHub repository or its Nexus Mods page. Both sources are regularly updated, and as of 2026 the mod continues to receive active support.
Why You Need FusionFix in 2026
Even in 2026, Rockstar has not released a significant patch or remaster that addresses the core issues with GTA IV on PC. The Complete Edition — which replaced the original listing on Steam and the Rockstar Launcher — removed Games for Windows Live but introduced its own set of problems. FusionFix fills that gap by:
- Fixing over 200 bugs present in every retail version of the game.
- Restoring console-quality effects like depth-of-field, bloom, and reflections.
- Improving performance through better memory management and shader optimization.
- Adding modern quality-of-life features such as borderless windowed mode, adjustable FPS limits, and improved controller support.
- Providing Steam Deck compatibility, making handheld play smooth and stable.
In short, if you plan to play GTA IV on PC in 2026, this mod is essentially mandatory.
Where to Download FusionFix GTA 4
There are two trusted sources for the fusion fix gta 4 download:
1. GitHub (Recommended)
The fusion fix gta 4 github repository is the primary source. You’ll always find the fusion fix gta 4 latest version here first, often days or weeks before it appears elsewhere.
Steps:
- Open your browser and navigate to the official FusionFix GitHub page (search “ThirteenAG FusionFix GTA IV GitHub”).
- Click on the Releases section in the right-hand sidebar.
- Download the latest
.zipfile — it will be named something likeGTAIV.EFLC.FusionFix.zip. - Save the file to a convenient location on your PC.
2. Nexus Mods
If you prefer a more traditional modding portal, the fusion fix gta 4 nexus page is an excellent alternative. Nexus provides a familiar interface, user reviews, and version history. Simply search for “FusionFix” on the GTA IV section of Nexus Mods and download the main file.
Important: Never download FusionFix from unofficial third-party websites. Stick to GitHub or Nexus to avoid malware or outdated files.
📥 Download FusionFix GTA 4 – Latest Version (2026)
Choose your preferred source below. Both links are official and safe.
🔗 Download from GitHub 🔗 Download from Nexus Mods ⬇️ Direct Download (Mirror)How to Install FusionFix GTA 4 – Step-by-Step
This section serves as a complete fusion fix gta 4 tutorial that covers every version of the game, including the Complete Edition on Steam.
Prerequisites
Before you begin the fusion fix gta 4 install, make sure you have:
- GTA IV installed via Steam, Rockstar Launcher, or a retail disc.
- The latest game update applied (the mod supports versions 1.0.4.0, 1.0.7.0, and 1.0.8.0).
- 7-Zip or WinRAR to extract the downloaded archive.
- A backup of your GTA IV game folder (optional but strongly recommended).
Step 1 – Locate Your GTA IV Installation Folder
- Steam: Right-click GTA IV in your library → Manage → Browse Local Files.
- Rockstar Launcher: Check
C:\Program Files\Rockstar Games\Grand Theft Auto IV. - Retail/Disc: Navigate to wherever you installed the game.
Step 2 – Extract the FusionFix Archive
Right-click the downloaded .zip file and select Extract Here (or use 7-Zip). You’ll see a collection of files and folders, including plugins, update, and various .asi / .ini files.
Step 3 – Copy Files Into the Game Directory
Select all extracted files and folders and paste them directly into your GTA IV root directory — the folder that contains GTAIV.exe. When prompted to merge folders or overwrite files, click Yes or Replace.
Step 4 – Install the ASI Loader (If Not Already Present)
FusionFix relies on an ASI Loader to inject its code. In most cases, the loader is included in the FusionFix package. Verify that dinput8.dll (or the relevant ASI loader DLL) exists in your game directory after pasting. If it’s missing, download Ultimate ASI Loader from GitHub and place it in the same folder.
Step 5 – Launch the Game
Start GTA IV through Steam, the Rockstar Launcher, or directly via GTAIV.exe. If FusionFix is loaded correctly, you’ll notice improved visuals, restored effects, and a generally smoother experience immediately.
That’s how to install fusion fix gta 4 in five straightforward steps.
How to Install FusionFix GTA 4 Complete Edition
Wondering how to install fusion fix gta 4 complete edition specifically? The process is identical to the one above. The Complete Edition is simply GTA IV with both Episodes from Liberty City (The Lost and Damned + The Ballad of Gay Tony) bundled together, minus GFWL. FusionFix fully supports it — just make sure you’re downloading the correct release that matches your game version (fusion fix gta 4 1.0.8.0 for the latest Complete Edition update).
FusionFix GTA 4 Version Compatibility
FusionFix supports multiple game versions. Here’s a quick breakdown:
| Game Version | Notes |
|---|---|
| Fusion fix gta 4 1.0.4.0 | Older retail/disc version. Supported but may require a downgrade patch for some mods. |
| Fusion fix gta 4 1.0.7.0 | Common version used by modders. Widely supported. |
| Fusion fix gta 4 1.0.8.0 | Latest Complete Edition version on Steam/Rockstar Launcher. Fully supported by the latest FusionFix release. |
Always match the FusionFix release to your game version. The GitHub release notes clearly state which versions are compatible.
Best Settings for FusionFix GTA 4
After installation, you can fine-tune FusionFix through its configuration file — typically GTAIV.EFLC.FusionFix.ini or a similarly named .ini file in your game folder. Here are the best settings for fusion fix gta 4 in 2026:
- BorderlessWindowed = 1 — Eliminates alt-tab issues and works better with modern displays.
- FpsLimit = 60 — Keeps physics stable; GTA IV’s engine ties some mechanics to frame rate.
- DepthOfField = 1 — Restores the cinematic console-style DOF.
- MotionBlur = 1 — Re-enables per-object motion blur removed in the PC port.
- DistantBlur = 1 — Adds atmospheric haze to distant geometry.
- Definition = 1 — Restores the subtle sharpening/post-processing pass.
- TreeAlpha = 1 — Fixes broken tree transparency.
- ShadowFilter = 4 — Higher values produce softer, cleaner shadows (experiment between 2–4).
- ConsoleGamma = 1 — Applies console-like gamma for richer contrast.
Experiment with individual toggles to find a balance between visual quality and performance on your hardware.
How to Install FusionFix GTA 4 Steam Deck
The fusion fix gta 4 steam deck setup requires a few extra steps because you’re working within Linux (SteamOS):
- Install GTA IV through Steam on your Deck as usual, enabling Proton compatibility.
- Download FusionFix on the Deck (using the built-in browser in Desktop Mode) from GitHub or Nexus.
- Navigate to the game folder — typically found under
~/.steam/steam/steamapps/common/Grand Theft Auto IV/GTAIV/. - Extract and copy all FusionFix files into that directory, just as you would on Windows.
- Set the Proton version to Proton GE (GloriousEggroll) or the latest official Proton Experimental for best compatibility.
- Add launch options in Steam if needed:
WINEDLLOVERRIDES="dinput8=n,b" %command%— this ensures the ASI Loader DLL is properly loaded through Wine/Proton. - Launch the game and enjoy.
With these steps, how to install fusion fix gta 4 steam deck becomes just as simple as the desktop process.
How to Use FusionFix GTA 4
Understanding how to use fusion fix gta 4 goes beyond installation. Once the mod is active:
- Adjust settings in-game through the normal graphics options menu — FusionFix patches the menu to expose previously hidden options.
- Edit the .ini file for advanced tweaks not available in the menu.
- Combine with other mods — FusionFix is designed to be a foundation. You can layer texture packs, ENB presets, and gameplay mods on top of it.
GTA 4 FusionFix Not Working – Troubleshooting
If you encounter a situation where gta 4 fusion fix not working, try these solutions:
- Verify file placement. All files must be in the root game directory, not in a subfolder.
- Check your game version. Mismatched versions are the number-one cause of failure.
- Disable conflicting mods. Remove other ASI mods temporarily to isolate the issue.
- Update your ASI Loader. An outdated
dinput8.dllcan prevent FusionFix from loading. - Run as Administrator. Right-click
GTAIV.exe→ Properties → Compatibility → check “Run as administrator.” - Check antivirus software. Some security suites quarantine
.asior.dllfiles. Add an exception for the GTA IV folder. - Reinstall FusionFix. Delete all FusionFix-related files and repeat the installation from scratch using the latest release.
How to Uninstall FusionFix GTA 4
If you ever need to revert to the vanilla game, here’s how to uninstall fusion fix gta 4 (also applicable if you’re wondering how to remove fusion fix gta 4):
- Delete the FusionFix files from your game directory. These typically include:
GTAIV.EFLC.FusionFix.asiGTAIV.EFLC.FusionFix.ini- The
pluginsandupdatefolders added by the mod. dinput8.dll(only if you don’t use other ASI mods).
- Verify game integrity through Steam (Properties → Installed Files → Verify Integrity of Game Files) or reinstall via the Rockstar Launcher. This restores any overwritten original files.
- Restart your PC and launch the game to confirm it runs in its unmodified state.
That’s all it takes — clean and simple.
Frequently Asked Questions
Is FusionFix safe to use?
Yes. It’s open-source, hosted on GitHub, and reviewed by thousands of community members. It contains no malware.
Will FusionFix get me banned in GTA Online?
GTA IV’s multiplayer servers were officially shut down. There is no anti-cheat to worry about.
Does FusionFix work with ENB?
Yes. FusionFix is fully compatible with ENB Series presets. Install FusionFix first, then layer your ENB on top.
Can I use FusionFix with a controller?
Absolutely. The mod even improves controller support with better button prompts and dead-zone fixes.
How often is FusionFix updated?
The mod receives regular updates — typically several times a year — adding new fixes and features.
Final Thoughts
FusionFix GTA 4 is, without question, the single most important mod for anyone playing Grand Theft Auto IV on PC in 2026. It transforms a notoriously troubled port into a polished, stable, and visually impressive experience. Whether you’re on a high-end desktop or a Steam Deck, the installation process is straightforward, the improvements are dramatic, and the community support is outstanding.
Download the fusion fix gta 4 latest version from GitHub or Nexus Mods today, follow the steps outlined in this guide, and rediscover Liberty City the way it was always meant to be experienced.