

If you’ve ever launched GTA 4 on PC and immediately wondered why a game from 2008 runs like it’s being emulated on a potato — you’re not alone. The PC port is genuinely infamous for how badly it performs, even on high-end machines. Frame drops, constant micro-stutters, and CPU usage that makes no sense for a game this old.
The good news? There’s a fix, and it’s been around long enough that it’s basically the standard recommendation at this point. It’s called DXVK, and dropping a couple of files into your game folder can transform GTA 4 from a slideshow into something you actually want to play.
This guide covers everything — what DXVK is, where to download it safely, and how to install it without breaking anything.
What is DXVK and why does GTA 4 need it?
DXVK is an open-source translation layer that converts DirectX 9/10/11 graphics calls into Vulkan. In plain terms, it replaces the way GTA 4 talks to your GPU with something much more efficient.
GTA 4 was built around DirectX 9, which made sense in 2008 but hasn’t aged well. Modern versions of Windows handle D3D9 with a lot of overhead — meaning your CPU ends up doing way more work than it should, leaving your GPU sitting around underutilized. That’s why you get those infamous drops even on a machine that can run much newer games without issue.
DXVK bypasses all of that. By routing rendering through Vulkan instead, it dramatically cuts CPU overhead, smooths out frame pacing, and gives your GPU a proper workload to chew through. The difference on most systems is night and day.
Download DXVK for GTA 4
Always download DXVK from the official GitHub repository. It’s open-source, actively maintained, and the only source you should trust. The latest stable release as of 2025 is v2.7.1.
Official DXVK v2.7.1 (Latest Stable)
File size: ~4 MB · Platform: Windows 32/64-bit
Gillian’s GTA IV Setup Utility
Automatically installs DXVK and sets up launch options for you. Recommended if you’d rather not move files around manually.
DXVK via Nexus Mods (GTA 4)
Community-packaged version with a commandline.txt preset included.
Tip: Stick to the official GitHub release unless you have a specific reason to use a third-party package. The GitHub version is always the most up-to-date and hasn’t been tampered with.
How to install DXVK on GTA 4
There are three ways to do this, depending on how hands-on you want to be. Method 1 is the manual approach and takes about two minutes. Method 2 is even easier if you’re not comfortable with file management.
Method 1 — Manual install (recommended)
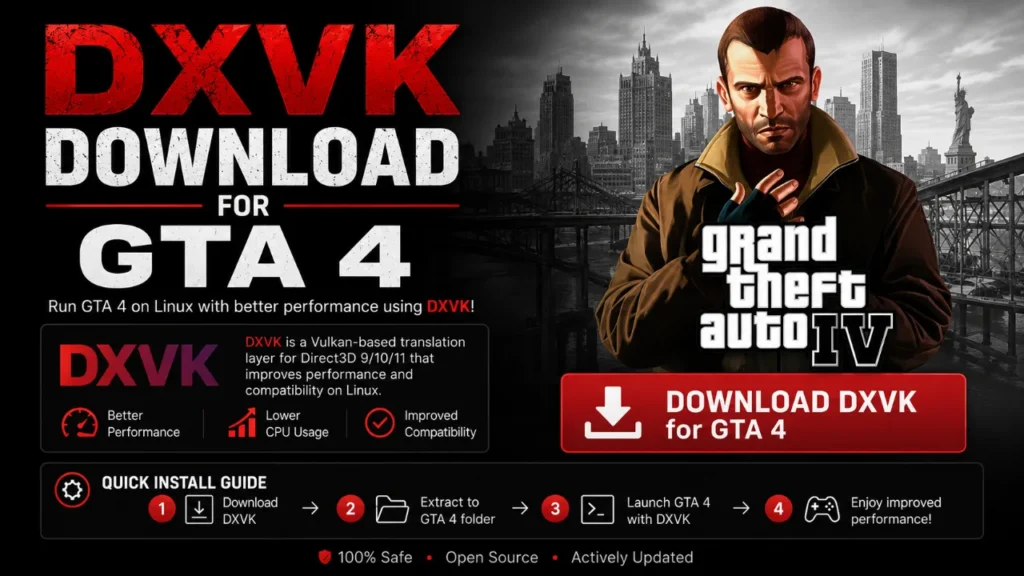
- Go to the DXVK GitHub releases page and download the latest
.tar.gzfile. - Extract the archive using 7-Zip or WinRAR. You’ll see two folders inside:
x32andx64. - Open the
x32folder — you need the 32-bit DLLs because GTA 4 is a 32-bit process. - Copy
d3d9.dllanddxgi.dllfrom thex32folder into your GTA IV game directory — the same folder whereGTAIV.exelives. - Launch the game. DXVK will initialize and compile shaders on the first run. This is normal and only happens once.
Note: If Steam’s Shader Pre-Caching is enabled, disable it first. Go to Steam → Settings → Downloads and uncheck “Enable Shader Pre-Caching.” This prevents conflicts with DXVK’s own shader cache.
Method 2 — Gillian’s setup utility (easiest)
If you’d rather not move files around manually, Gillian’s GTA IV Setup Utility handles everything for you. Download it from the GTAForums link above, run it, click “Open” to point it at your GTA IV folder, then hit “Install DXVK” and “Setup Launch Options” in that order. Done.
The utility also handles compatibility with FusionFix and ZolikaPatch automatically, which saves a lot of headache if you’re running those mods.
Method 3 — FusionFix (if you already have it)
FusionFix bundles DXVK by default. If you’ve already installed FusionFix, go into the in-game graphics settings and toggle DXVK on from there. No extra download needed.
Optimize GTA 4 with commandline.txt
Installing DXVK is the biggest win, but you can squeeze out more performance by editing (or creating) a commandline.txt file in your GTA IV folder.
These are the launch parameters that most people running DXVK end up using:
-availablevidmem 4096
-nomemrestrict
-norestrictions
-forcer2vb
-frameLimit 1
-fullspecaudio
-forcehighqualitymirrors
If your GPU has less than 4 GB of VRAM, change -availablevidmem 4096 to something like -availablevidmem 2040 instead. Also keep an eye on this setting after Rockstar Launcher updates — it has a habit of resetting itself back to 512, which will tank performance.
Does it actually work?
Yes, noticeably so. Most people who install DXVK report that the constant micro-stutters disappear almost entirely after the first session (when shaders finish compiling). CPU usage drops, GPU utilization goes up, and frame pacing becomes consistent in a way that stock GTA 4 never manages.
The improvement is most dramatic if you have a mid-range or older CPU. GTA 4’s DirectX 9 renderer absolutely hammers single-core performance, and DXVK takes a lot of that pressure off by offloading work to Vulkan and ultimately to your GPU.
Even on newer hardware where raw power might mask some of the issue, the frame consistency improvement is still worth it. It’s a two-minute install for a meaningfully better experience — there’s really no reason not to.
FAQ
Yes. DXVK is completely open-source and widely used across thousands of games. GTA 4’s multiplayer servers are no longer active, so there’s zero risk of a ban or any account-level consequence. It only affects how the graphics renderer works.
Which version of DXVK should I use?
The latest stable release from GitHub is almost always the best choice. As of mid-2025, that’s v2.7.1. Older guides may point you toward v1.7 — those recommendations are outdated. Newer versions have significantly better stability and GPU utilization.
The game stutters badly on the first launch — is something wrong?
That’s completely normal. DXVK compiles shaders the first time it runs, which causes brief stutters while it works. After that first session, the compiled shader cache is saved and subsequent launches will be smooth.
I’m on Linux — do I still need to install DXVK manually?
No. If you’re running GTA 4 through Steam Proton on Linux, DXVK is already included and active. You don’t need to do anything extra.
Can I uninstall DXVK if I don’t like it?
Easily. Just delete the d3d9.dll and dxgi.dll files you placed in the GTA IV directory. The game will go back to using the native DirectX renderer.
Does DXVK work with the Complete Edition on Steam?
Yes, it works with all versions of GTA 4 on PC including the Complete Edition. The installation process is identical regardless of where you bought it.
