
The video is a full walkthrough on how to use a ready‑made “lag fix” pack plus Windows tweaks to make GTA 5 run smoother on low‑end PCs with 2–8 GB RAM and even no graphics card.
1. Before changing anything
- The creator tells you to watch the full video before doing steps and to follow exactly, especially if your PC is very weak.
- You are told to create a system restore point first so you can roll back if anything goes wrong after registry or system changes (this is shown briefly, but not deeply explained step‑by‑step in the video).
2. Downloading and extracting the pack
- In the description, there is a Google Drive/mega‑style link with a “GTA 5 lag fix” ZIP/RAR file that you must download.
- You use WinRAR/7‑Zip to extract the archive, which contains multiple folders and files:
3. Applying commandline.txt (GTA 5 root folder)
- The creator opens the GTA 5 installation folder (where GTA5.exe is located) through either Steam, Rockstar, or file explorer.
- From the extracted pack, you:
- The creator explains that:
- The recommended file balances FPS and graphics.
- A more extreme “low‑end” commandline version is also included if your PC is very weak; you can swap to it later for even more FPS but uglier graphics.
4. Replacing GTA 5 settings.xml (Documents folder)
- The creator then navigates to:
- From the lag‑fix pack, there is an optimized settings.xml. Steps shown:
- This forces GTA 5 to run with pre‑tuned low/optimized graphics that are suited for 2–8 GB RAM and integrated GPUs.

5. Registry tweaks for performance
- In the extracted pack, there is a .reg file, often named something like “GTA5 Performance.reg” or “LowEndPC.reg”.
- The creator:
- There is also usually a “Default/Original” .reg file in the pack.
6. Cleaning temporary and junk files
- The video then shows going into Windows Settings:
- Steps demonstrated:
- The creator explains this reduces background clutter and can help with smoother loading and fewer stutters.
Download Mod File Now
“Double Your FPS! Get the GTA 5 Performance Pack Now”
- Why it works: It promises a specific result that every gamer wants.
7. In‑game settings configuration
- After applying files and registry tweaks, the creator launches GTA 5.
- Inside GTA 5’s Settings → Graphics, the video shows recommended values, such as:
- Use DirectX 10 or 10.1 instead of 11 for low‑end PCs.
- Set Screen Type to Fullscreen and lower resolution if FPS is still low.
- Turn off or very low: MSAA, Reflection MSAA, Advanced Graphics options.
- Lower Texture, Shader, Reflection, Grass, and other details.
- These in‑game settings are meant to work together with the commandline.txt and settings.xml that were already applied.
8. Testing different presets
- The creator suggests starting with the recommended commandline + settings.xml combination first.
- If you still get lag or stutter:
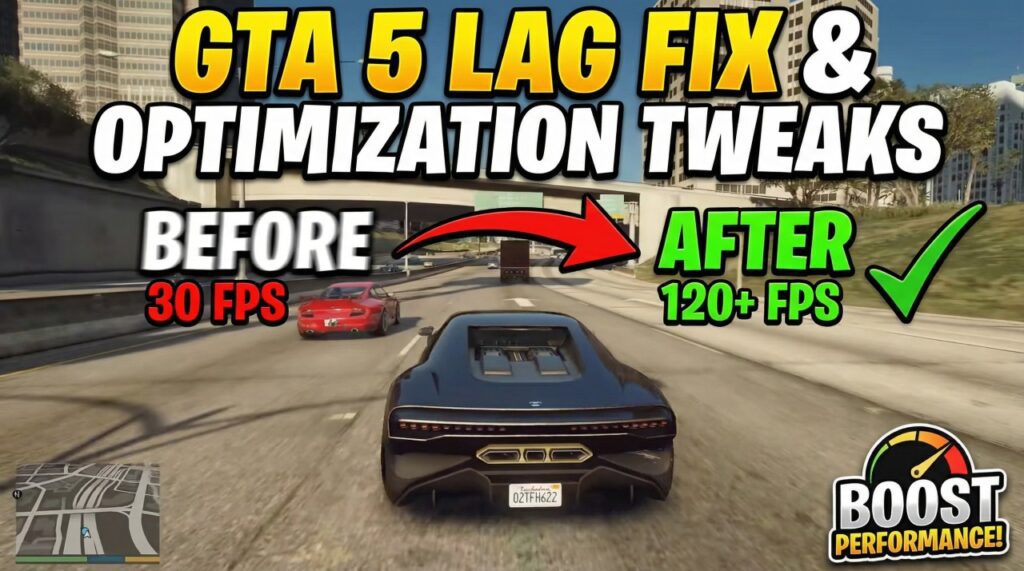
9. What results to expect
- The video shows gameplay clips where GTA 5 was previously laggy and then appears smoother after all tweaks.
- The creator claims these settings are especially aimed at:
- Viewers are encouraged to comment their specs and FPS results and to revert via restore point or default .reg/settings backups if they face issues.
If you tell your exact specs (CPU, RAM, GPU/iGPU), a tailored step order (what to try first, which commandline to pick, and how low to set resolution) can be listed specifically for your PC.
1 thought on “GTA 5 Lag Fix and Optimization Tweaks”