

Let’s be honest—Grand Theft Auto IV on PC is a legendary mess. It’s a masterpiece wrapped in a notoriously terrible port. If you’re trying to run it on an older or budget rig, you know the pain: stuttering, crashing, and frame rates that dip into the single digits. I’ve been there, tweaking .ini files for hours.
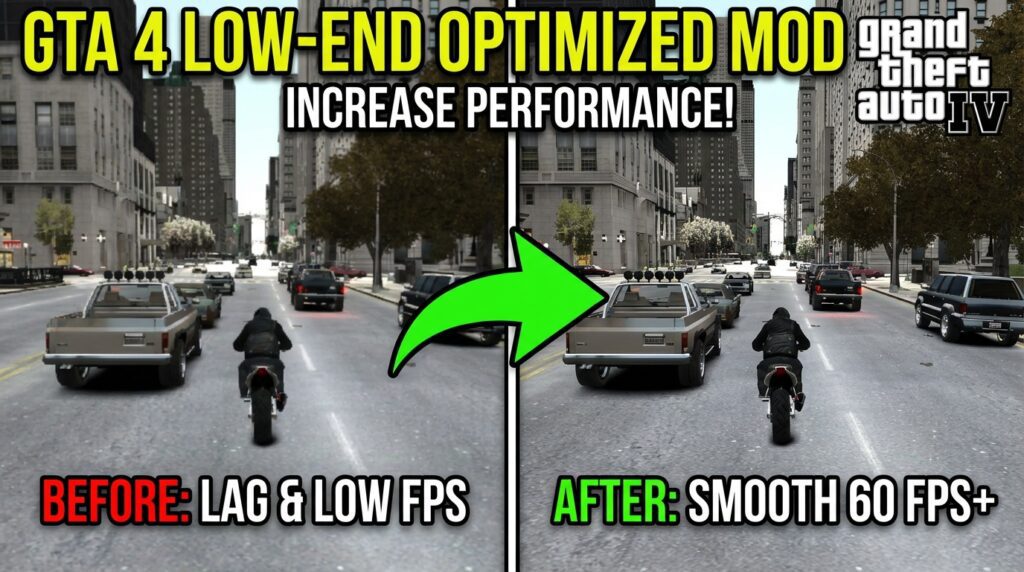
Struggling to run GTA 4 on a low-end PC? Discover the best optimized graphics mod that boosts FPS, stabilizes performance, and makes the game playable. Step-by-step install guide included.
After testing countless mods and fixes over the years, I finally found a setup that doesn’t just add fancy graphics, but actually optimizes the game. This isn’t about making it prettier on a supercomputer; it’s about making it playable for the rest of us. Here’s everything I learned.
Why GTA 4 Runs So Poorly on Low-End Systems
Before we dive into the fix, it helps to know what you’re fighting against. The game was built for the Xbox 360 and PS3’s unique architecture, and the PC translation was… rushed.
- Poor Multi-Core CPU Utilization: It famously chokes on one or two cores, leaving your other processors idle.
- Memory Leaks & Bad Streaming: The game struggles to load the dense cityscape, causing hitches.
- Outdated DRM: The original SecuROM protection still drags down performance.
- Lack of Modern API Support: No native DirectX 10/11 or Vulkan optimization means it can’t leverage modern GPU features efficiently.
That’s where a dedicated GTA 4 low-end optimized mod comes in. The right one doesn’t just slap on new textures; it addresses these core engine issues.
My Results & Key Takeaways
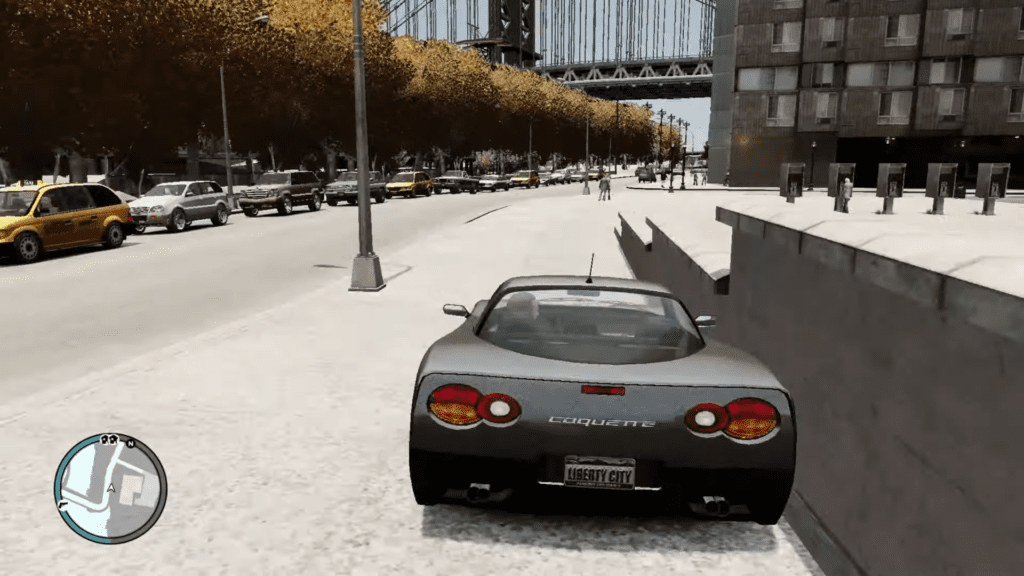
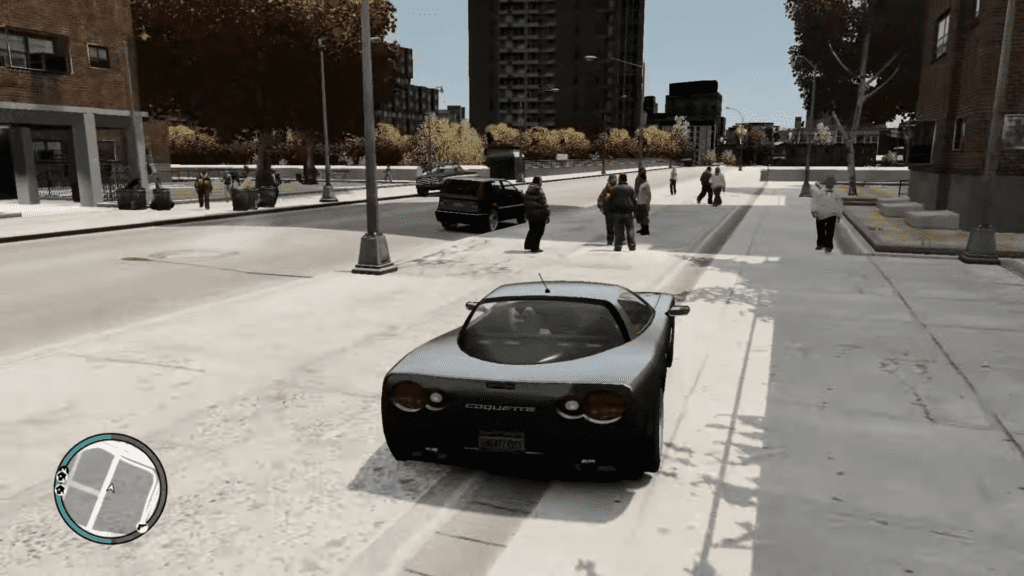
On my system (i5-4460, GTX 960 4GB, 8GB RAM), the transformation was stark. Before, I averaged 35-45 FPS with constant stutters in Algonquin. After DXVK and the commandline tweaks, I saw a locked 60 FPS in most areas, with buttery-smooth frametimes. The game just felt right.
A few personal observations:
- The difference isn’t always about peak FPS; it’s about eliminating those micro-stutters that make driving unbearable.
- Don’t bother with 4K texture packs on a low-end system. Focus on stability first.
- The GTA modding community is incredible. These fixes are labors of love that keep classic games alive.
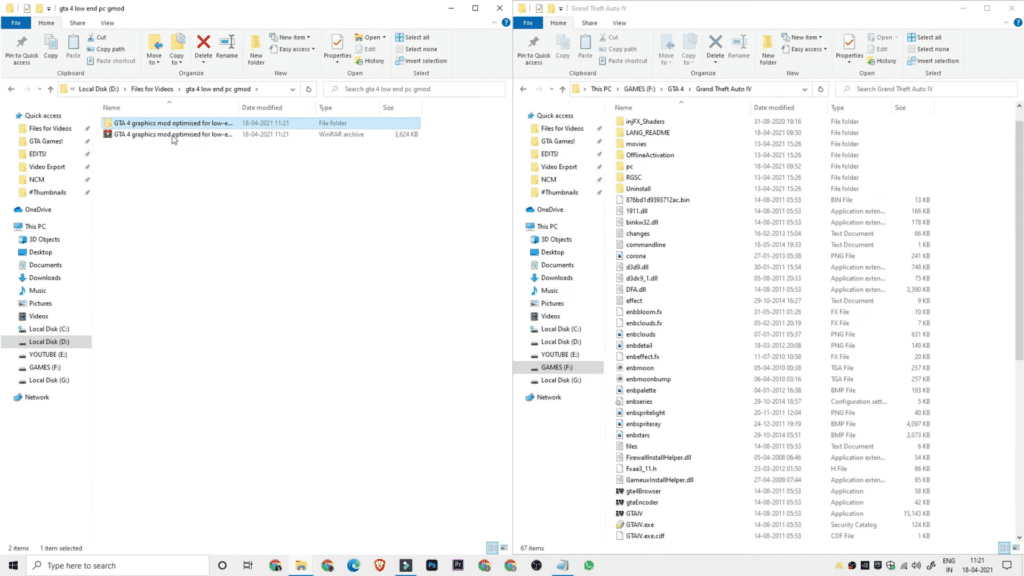
Installation Process
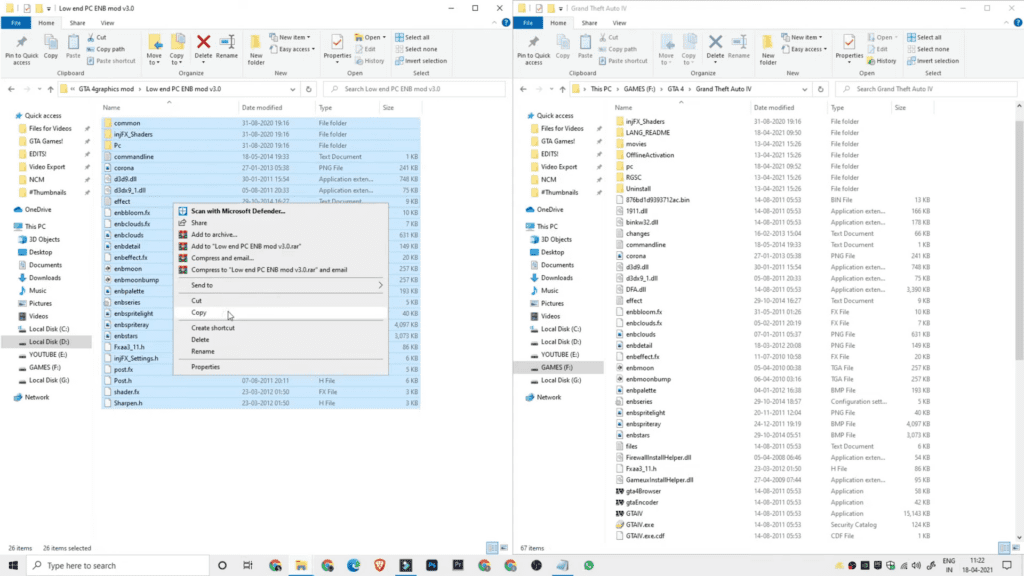
- Open the folder Low End PC ENB Mod v3.0.
- Select all files and folders inside it (Ctrl + A).
- Right-click and choose Copy.
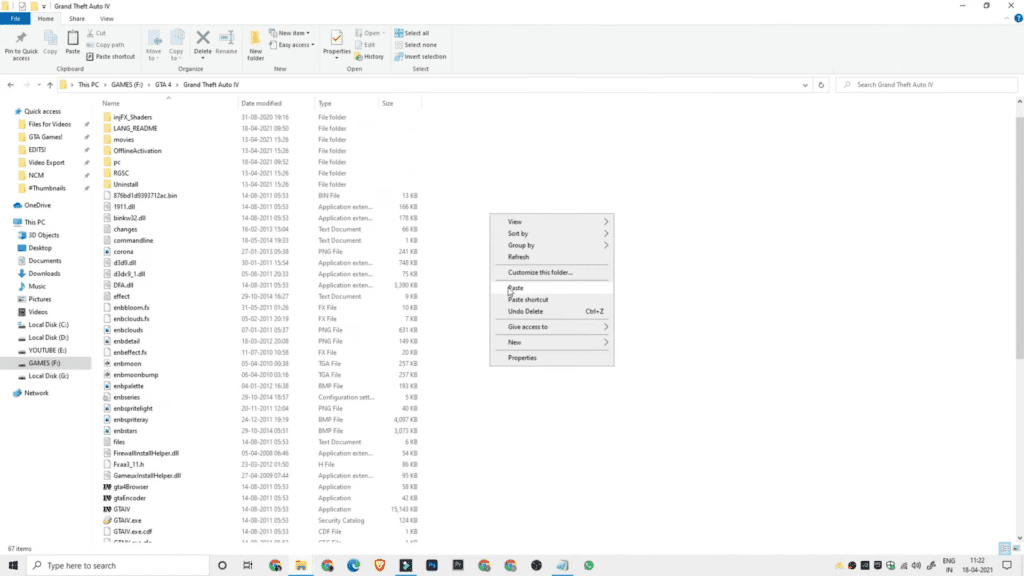
- Go to your GTA IV main directory (where GTAIV.exe is located).
- Right-click in the empty area and select Paste.
- When Windows asks to replace files, click Yes to All.
- After copying is complete, launch GTA IV and the graphics mod will be applied.
Additional Tips for Maximum Performance
- Lower Your Resolution: It’s the single biggest FPS booster. 1600×900 or even 1366×768 can make the game perfectly playable.
- Turn Off Shadows: Shadows in GTA IV are a notorious performance killer. Set them to “Low” or “Off.”
- Use a Frame Limiter: Enable V-Sync or limit FPS to 60 in your GPU control panel. The game’s physics are tied to framerate, and very high FPS can cause weird issues.
Ready to Finally Enjoy GTA IV?
It’s a shame such a brilliant game was hidden behind such technical flaws. But with these GTA 4 low-end PC optimization steps, you’re not just installing a mod—you’re fixing a broken experience. The process might seem technical, but each step is straightforward. And the payoff is worth it: actually experiencing Niko Bellic’s story without the slideshow.
Have you tried DXVK or another optimization mod for GTA 4? What was your experience like? Drop a comment below—I read them all and love hearing what works for different setups. If this guide helped you get back into Liberty City, consider sharing it with another PC gamer who’s still fighting the good fight.