
Honesty time: I tried playing the vanilla version of Grand Theft Auto: San Andreas on my Windows 11 rig last week. It was… rough. The nostalgia hits hard when you hear that intro theme, but the 25FPS cap, broken widescreen support, and the “orange fog” made it hard to stick with.
I didn’t want the sterilized look of the “Definitive Edition.” I wanted the original game, just better. That’s when I dug into the modding archives and found the sweet spot: a combination of GTA_SA-Required_Files and Realistic Vision R2.

If you are trying to make the game look like a modern indie title without losing that 2004 soul, this is how you do it.
First: You Need the “Required Files” Foundation
Before we get to the pretty graphics, we have to talk about stability. A lot of people skip this and then wonder why their game crashes to the desktop (CTD) when they enter a car.
The GTA_SA-Required_Files.rar archive is basically the holy grail of stability. From my experience digging through the file structure, this isn’t just random junk; it contains the essentials:
- SilentPatch: Fixes hundreds of engine bugs left by Rockstar.
- ModLoader: This is a lifesaver. It lets you drag and drop mods into a folder rather than replacing core files. If a mod breaks your game, you just delete the folder. No more reinstalling the whole game.
- Widescreen Fixes: So CJ doesn’t look stretched out like a pancake on 1080p or 4K monitors.
[Image Suggestion: A split-screen comparison showing the vanilla 4:3 aspect ratio vs. the modded widescreen 16:9 view]
The Visual Overhaul: Realistic Vision R2
Once the game was actually running without crashing, I installed 1589741503_Realistic Vision R2.rar.
I have tried a dozen ENB series mods, but this one hits differently. It’s built on RenderHook, which essentially forces the old engine to use Physically Based Rendering (PBR).
What You Will Actually Notice
- Dynamic Shadows: This was the “wow” moment for me. In the original game, shadows were just static blobs. With R2, streetlights cast real shadows that stretch and warp as you walk past them.
- Reflections: The cars actually look metallic now. Driving a Banshee through Las Venturas at night, seeing the neon reflect off the hood? It’s a vibe.
- No More Fog Wall: The metadata for this pack points to Project 2DFX. This removes that annoying fog that hides the map. You can stand on Mount Chiliad and actually see the lights of San Fierro in the distance.
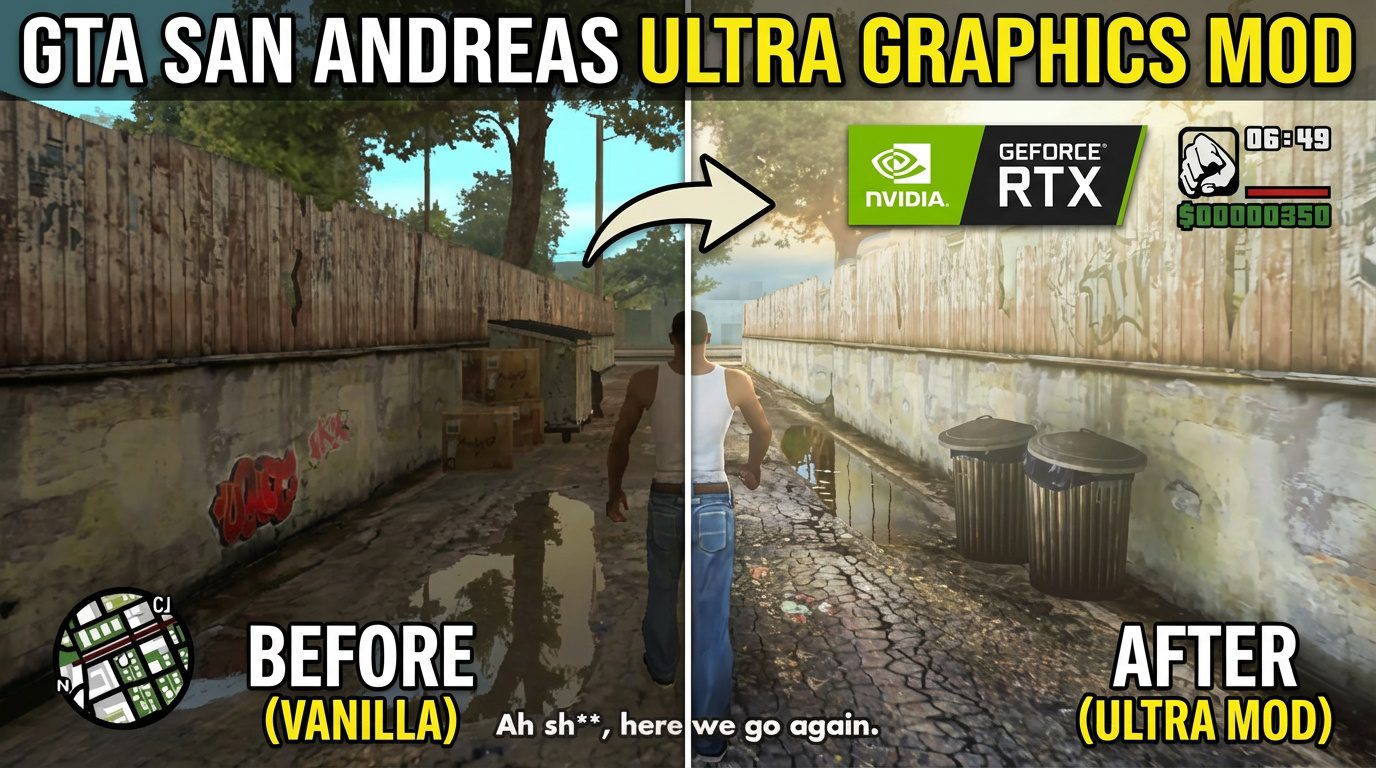
Comparison: Vanilla vs. Realistic Vision R2
| Feature | Vanilla (2004) | Realistic Vision R2 |
| Lighting | Flat, static lighting | Dynamic, PBR-based lighting |
| Shadows | Blobby textures | Real-time, sharp shadows |
| Water | Simple texture animation | Realistic reflection and refraction |
| Atmosphere | Heavy distance fog | Clear draw distance (Project 2DFX) |
Installation Tips from My Experience
Installing this can be tricky if you rush. Here is my advice: don’t just dump everything in at once.
- Extract
GTA_SA-Required_Files.rarto your root folder first. Launch the game. Make sure it loads. - Then, drop the
Realistic Vision R2files into your directory. - Pro Tip: If the water looks weird or “invisible,” check your
particle.txdfile. I messed this up the first time.
You can find more technical details on specific mod loads at GTAForums or check the MixMods community for updates on SilentPatch.